How to Make a Scarecrow: DIY Guide

Scarecrows have traditionally been used to keep crows and other intruders out of vegetable gardens and away from the produce. In ancient Egypt, scarecrows were fashioned out of wooden frames and netting and placed in the wheat fields along the Nile River valley to ward off quail. For centuries the scarecrow served a practical purpose, but now it is more than a tool to scare away birds.
But the scarecrow has become more than just a garden asset. It is also a staple of fun autumn décor. Whether displayed in the garden to protect seeds and plants) or adorning the front porch surrounded by pumpkins and hay bales, making a scarecrow can be a fun, simple, and budget-friendly.
DIY: Making a Scarecrow
Getting Started with a Scarecrow
To get started, gather these supplies:
- Straw or hay
- Old clothing, such as a flannel shirt, overalls, or tattered jeans
- Burlap or old panty hose
- Rubber bands or twine
- Safety pins
- Permanent marker or paint pens
Step by Step Instructions
- First, make sure that any shirt or overall buttons are properly fastened. This will ensure that the scarecrow takes the proper shape.
- Next, tie off the ends of the shirt sleeves and pants legs with twine or a tightly wound rubber band.
- Begin stuffing hay or straw into the clothing. The clothes need to be stuffed very full. Old leaves can also be used to stuff the scarecrow if hay or straw is not available.

- After the clothing has been stuffed, try putting long strips of hay into the tied-off shirt sleeves and pants legs and leave them sticking out to give the illusion of hands and feet.
- Next, fashion a burlap sack (or the top part of old panty hose) into the shape of a head. The head should be 8 to 10 inches in diameter, depending on the size of the scarecrow.
- Fill it with straw or leaves until it takes shape. Burlap is durable enough to be filled with straw, but if using hosiery, try old leaves or even cotton so that it does not tear.
- Place the head on top of the scarecrow’s body and fasten it in place with safety pins. Try adding a bandana or kerchief around the neck for extra décor and to hide the pins.
Creative Finish for the Home-Made Scarecrow
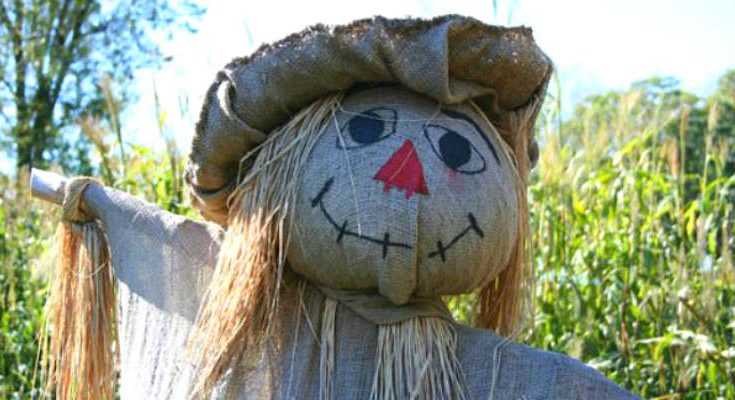
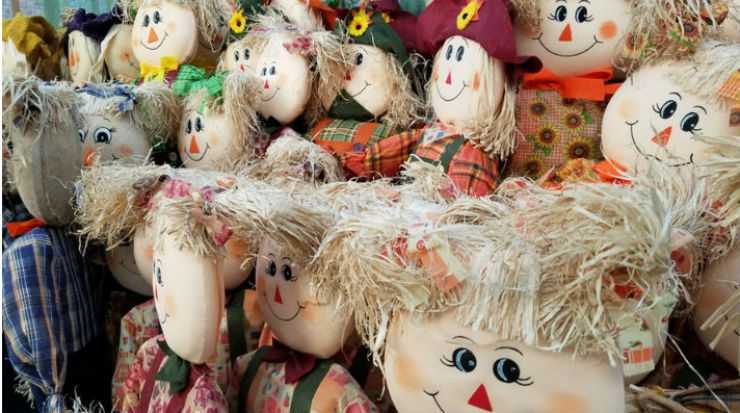
Finally, give the scarecrow a face for the finished look. Be creative! Try gluing on cute buttons for eyes or use triangle and square shapes for noses.
The best decorative scarecrows are usually whimsical! If painting or drawing a face, be sure to use permanent markers or paint pens.
Right Place for your DIY Scarecrow
If the scarecrow is simply decorative, it can sit in a porch chair surrounded by pumpkins or lean against the siding of the house.
To post it in the yard or garden, make a cross-shaped post out of two boards that are nailed together perpendicularly. Dig a hole 6 inches into the ground and place the post in the hole. Attach the scarecrow to the post using nails or twine.
For most of us, no fall or Halloween décor is complete without a scarecrow.
Try using these steps for a simple, fun, and cheap fall activity that adds a touch of whimsy to any front porch in the autumn!
If you are looking for more fun ways to celebrate this season, check out our guide for cornboards, pretend play toys and other things you can do in the garden this fall!
